Your home is ready for a spray foam insulation installation when you have clear access to the wall cavities or attic, the structural surfaces are completely dry, and the outdoor temperature falls within the manufacturer's specified range. If you notice high utility bills or uneven room temperatures, these are immediate signs your property needs an upgrade. This guide provides the technical steps and home checks needed to prepare for a successful project.
Professional contractors look for specific structural conditions before they start applying material. This information comes from years of field experience in the home improvement industry. Knowing these requirements helps you avoid delays and ensures the material bonds correctly to your house.
1. Inspect for Moisture and Water Leaks
Moisture is the biggest enemy of a successful Spray Foam Insulation Installation. You must ensure that the areas receiving treatment are bone dry. Any active roof leaks or plumbing drips will prevent the foam from sticking to the wood or masonry.
If you have a basement or crawl space, check for standing water or damp walls. High humidity levels can interfere with the chemical reaction of the foam. You might need to run a dehumidifier for a few days before the crew arrives to prepare the environment.
- Check all windows and door frames for wood rot.
- Repair any roof shingles that look damaged or missing.
- Ensure your gutters are clear and that water is moving away from the foundation.
- Bonus Tip: Use a moisture meter to check that wood framing has a moisture content below 19 percent before starting.
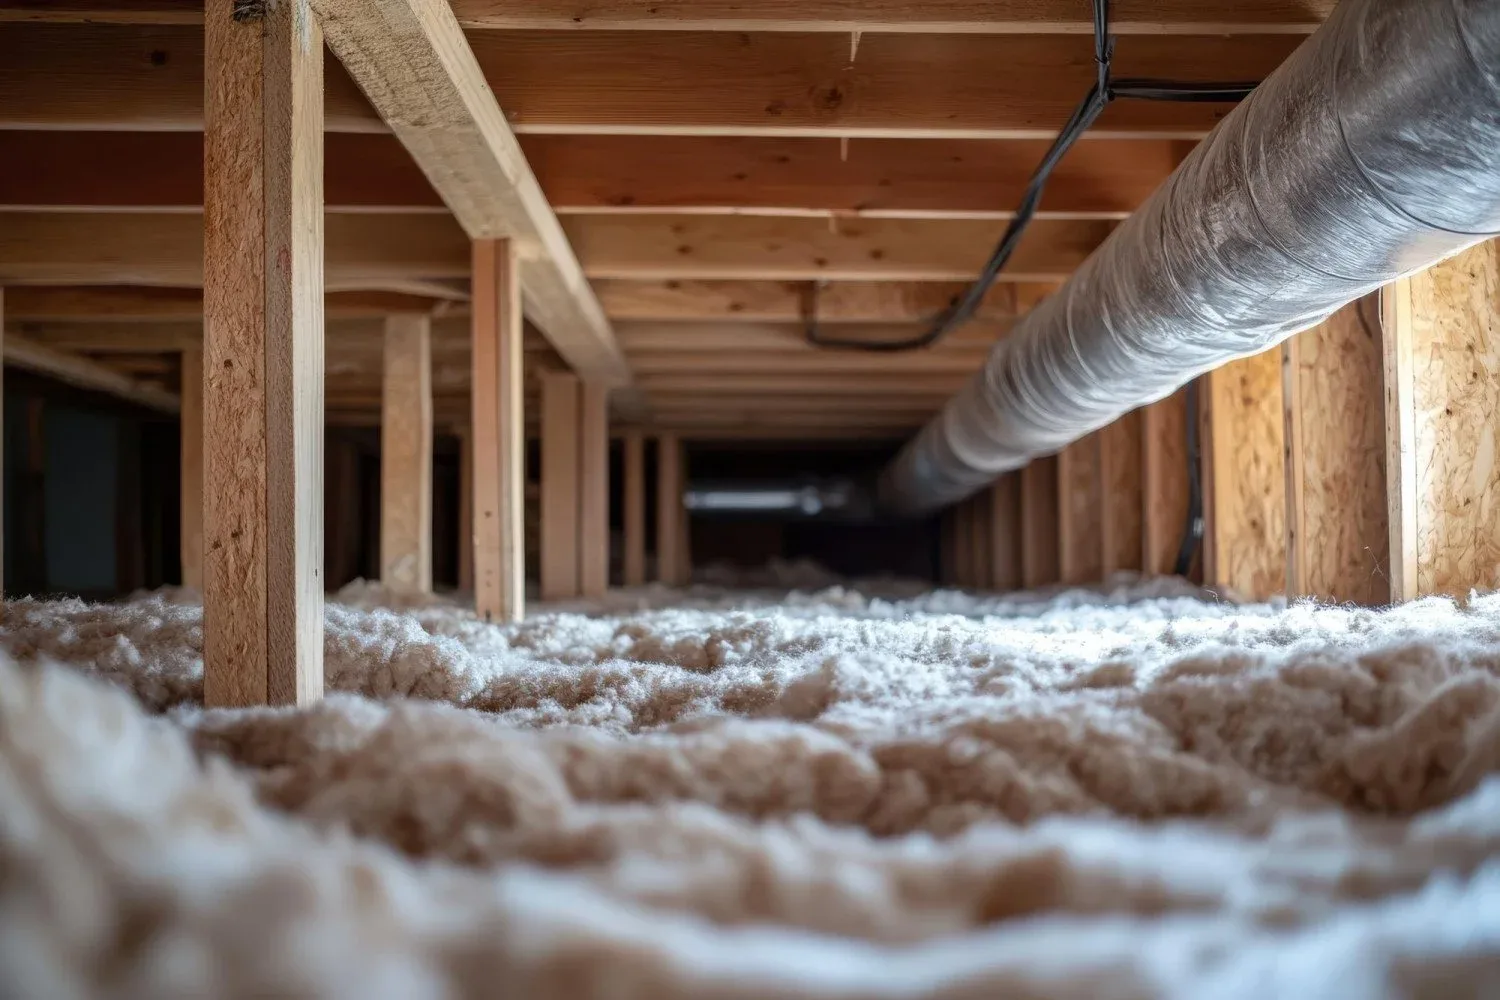
2. Evaluate Access and Space Availability
A spray foam contractor needs enough room to move their equipment and hoses through your home. This means clearing out storage boxes from the attic or removing furniture from rooms where walls will be treated. If the space is too cramped, the application might be uneven.
Think about how the hoses will get from the truck to the work area. You should clear a path that is at least three feet wide. If you are insulating a crawl space, ensure there is enough clearance for a person to crawl comfortably with a spray gun.
3. Check Electrical and Mechanical Systems
Before the spray foam insulation services begin, you must verify that your electrical wiring is safe. Older homes often have knob and tube wiring, which should never be covered with foam because it can overheat. You might need an electrician to sign off on your system first.
Recessed lights also need attention. Unless they are rated for direct contact with insulation, they require a protective cover or box around them. This prevents the heat from the light bulb from creating a fire hazard once the foam is applied.
Is Your Current Temperature Right for Installation?

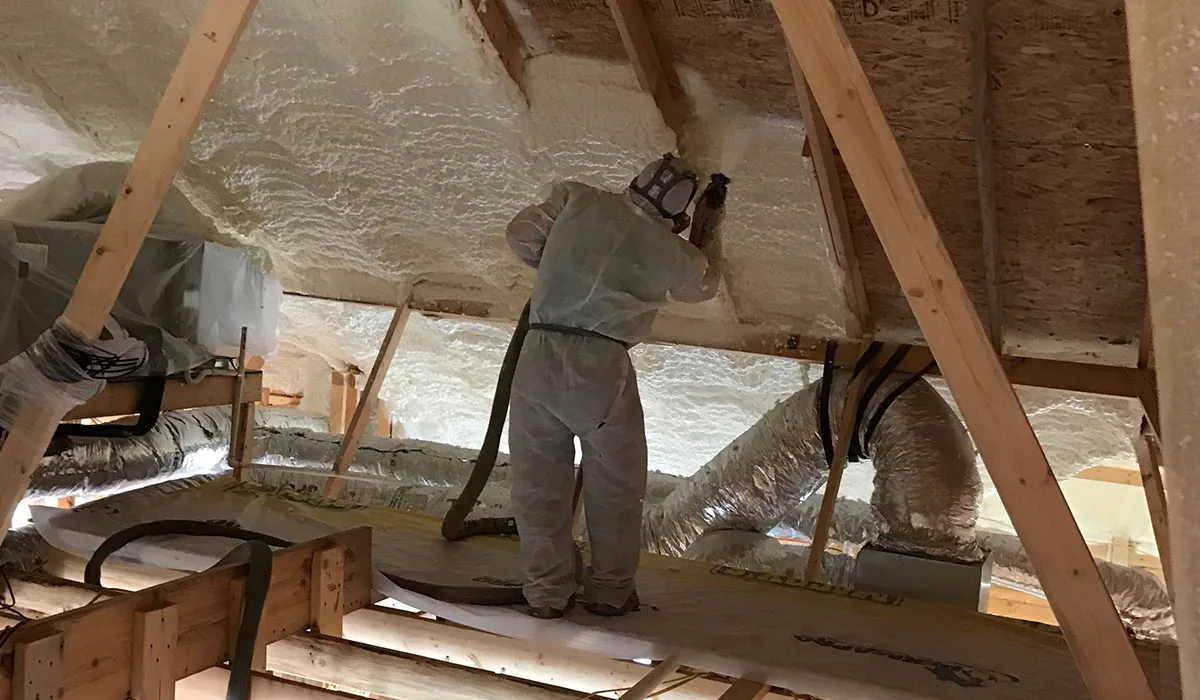
4. Prepare the Surface Area
The surfaces where the foam will be applied must be free of dust, oil, and loose debris. If you have old fiberglass or cellulose, it usually needs to be removed. A spray foam insulation project works best when the material touches the actual roof deck or wall sheathing.
Vacuuming the joists and studs can make a big difference in how well the product sticks. If you are working on a metal building, ensure there is no oily residue on the steel. Simple cleaning steps prevent the insulation from peeling away over time.
5. Consider Ventilation and Airflow
Once you apply spray foam, your home becomes much more airtight. This is great for energy bills but requires you to think about how your house breathes. You should check if your HVAC system can handle the change in air pressure and humidity.
In some cases, you might need to add a mechanical ventilation system like an ERV or HRV. This ensures you still get fresh air without losing the heat you are trying to save. Discussing this with a professional helps you maintain healthy indoor air quality.
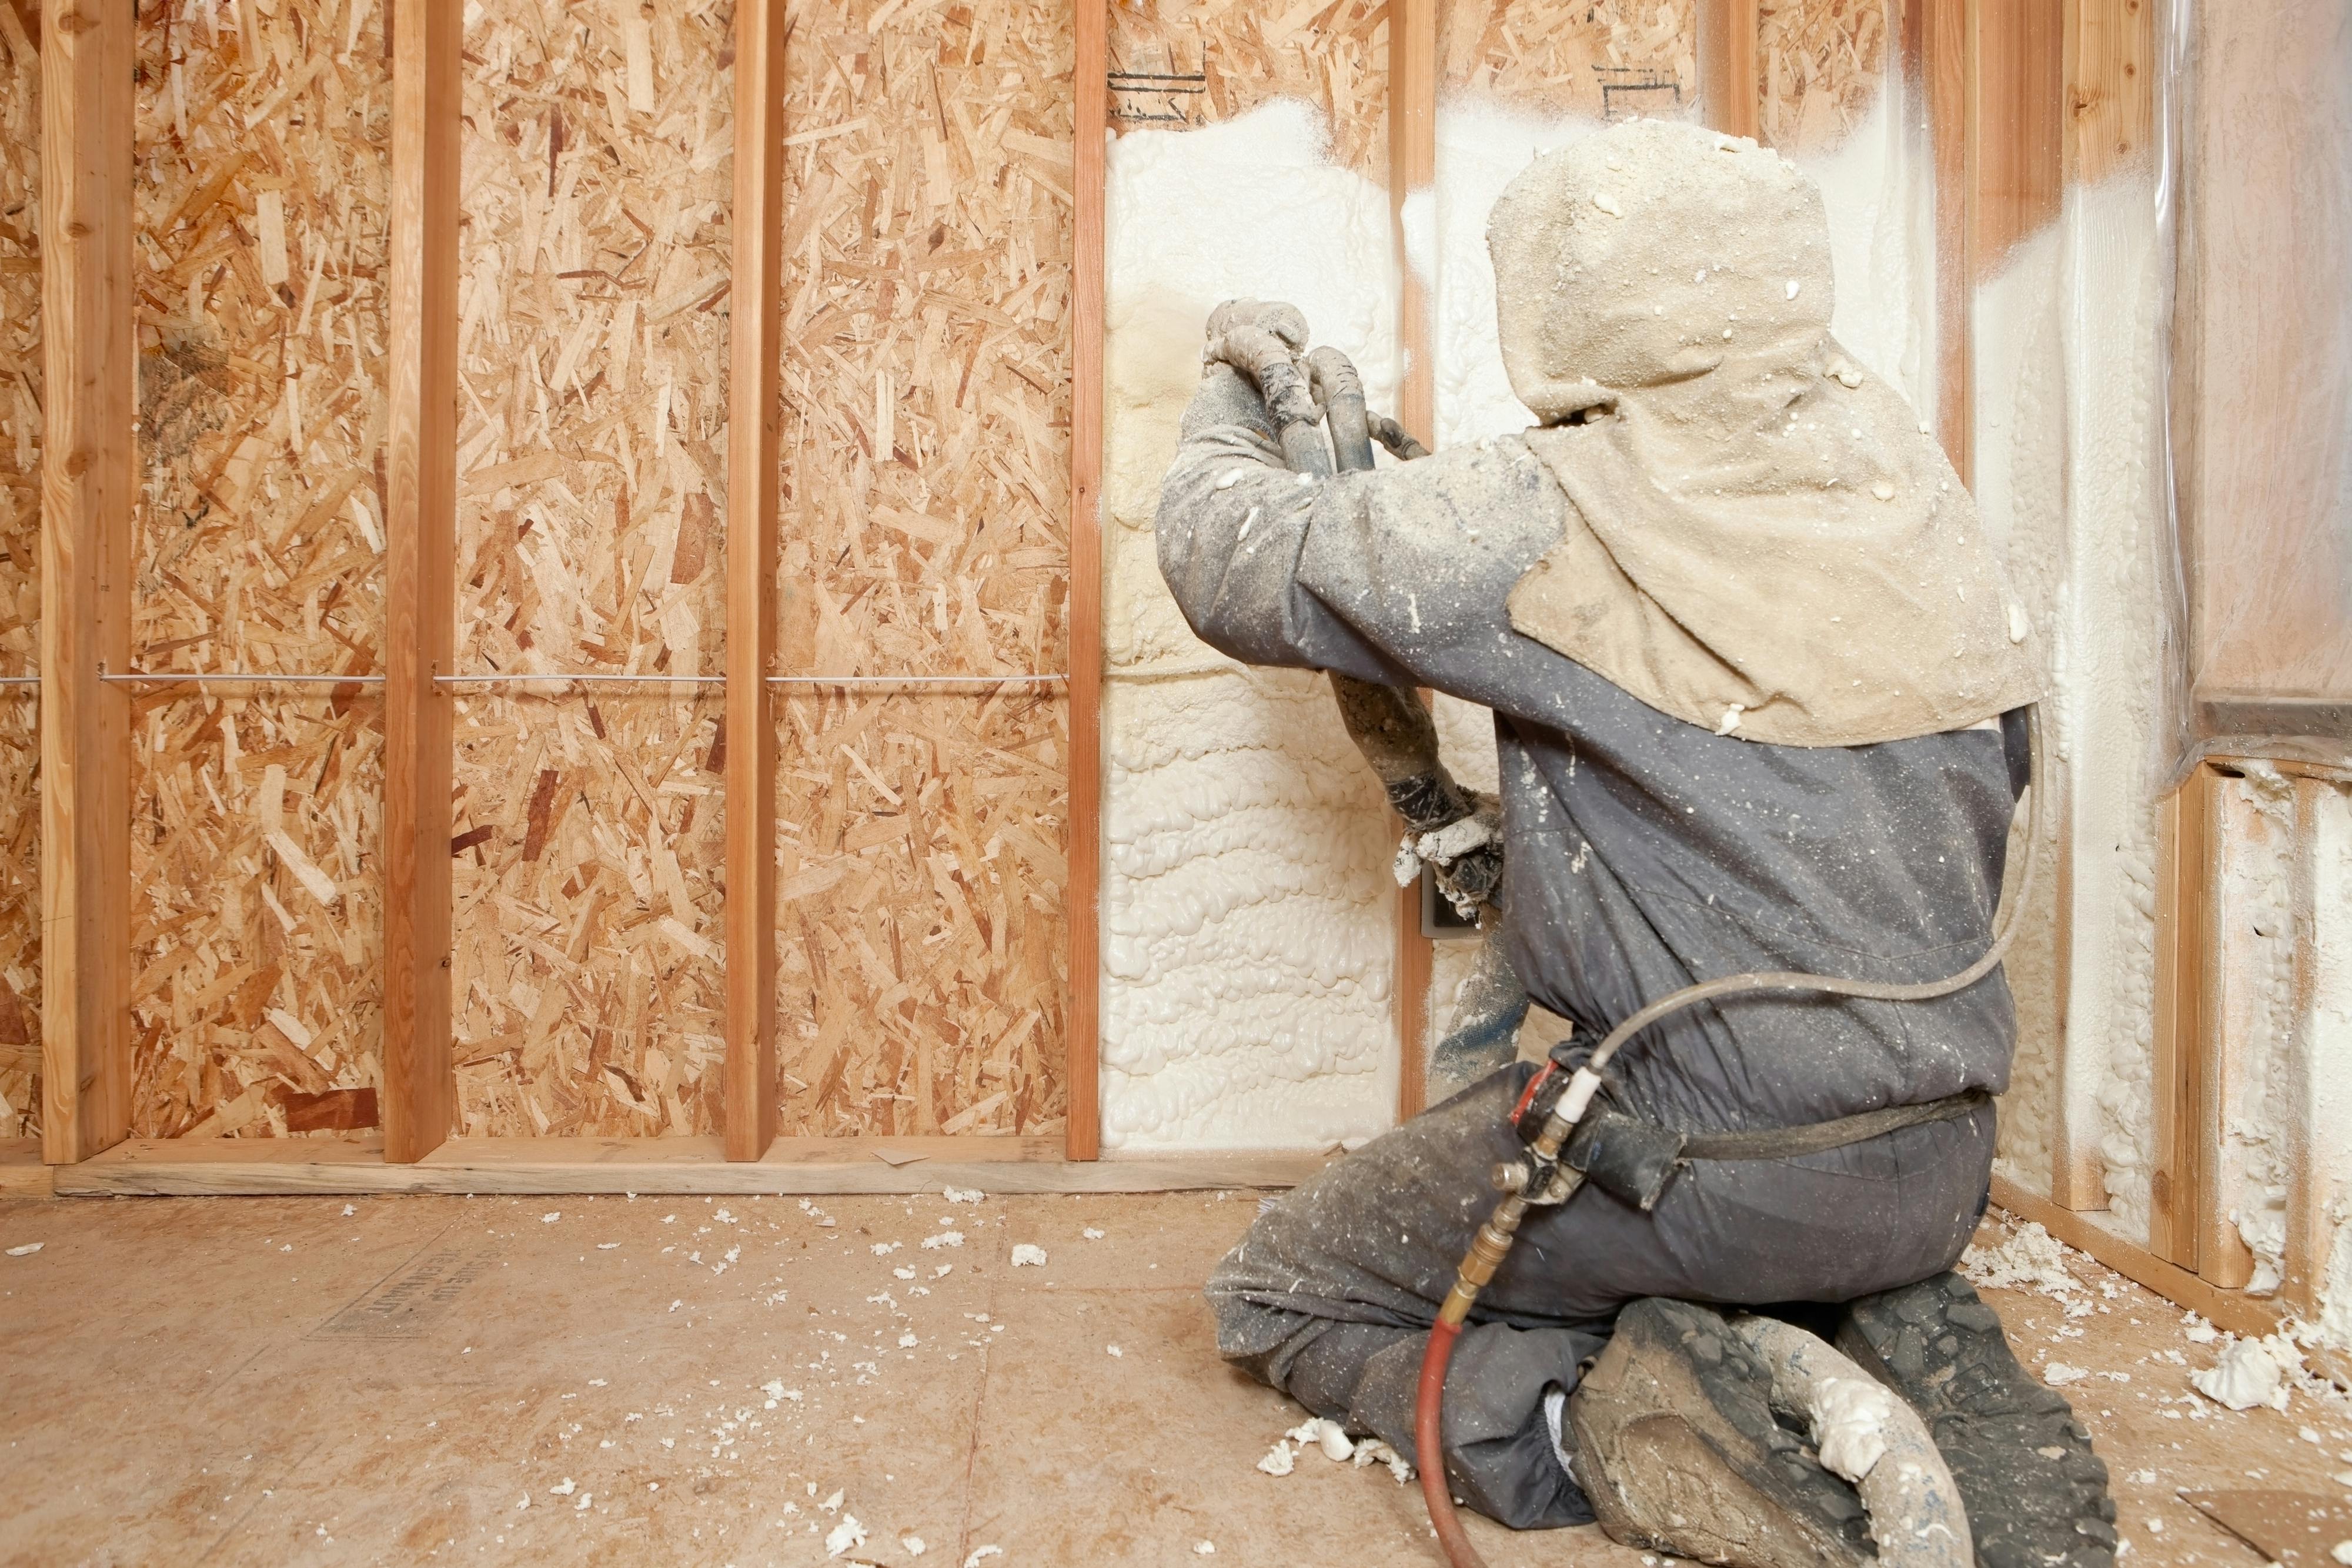
6. Plan for Occupant Safety
During the application, most manufacturers recommend that people and pets leave the house for 24 hours. This allows the off-gas process to finish completely. You are ready for installation when you have a place to stay and a plan for ventilating the house afterward.
- Seal off any HVAC vents that lead to the living areas.
- Turn off any open flames or pilot lights in the furnace or water heater.
- Cover sensitive items like electronics or expensive furniture with plastic.
- Bonus Tip: Plan your project during a time when you can keep windows open for a few hours after the 24-hour waiting period ends.
Things to Look for in a Service Provider
Choosing a spray foam contractor involves more than just looking at the price. You want someone who uses high-quality rigs and follows strict safety protocols. They should be willing to show you their insurance certificates and manufacturer certifications.
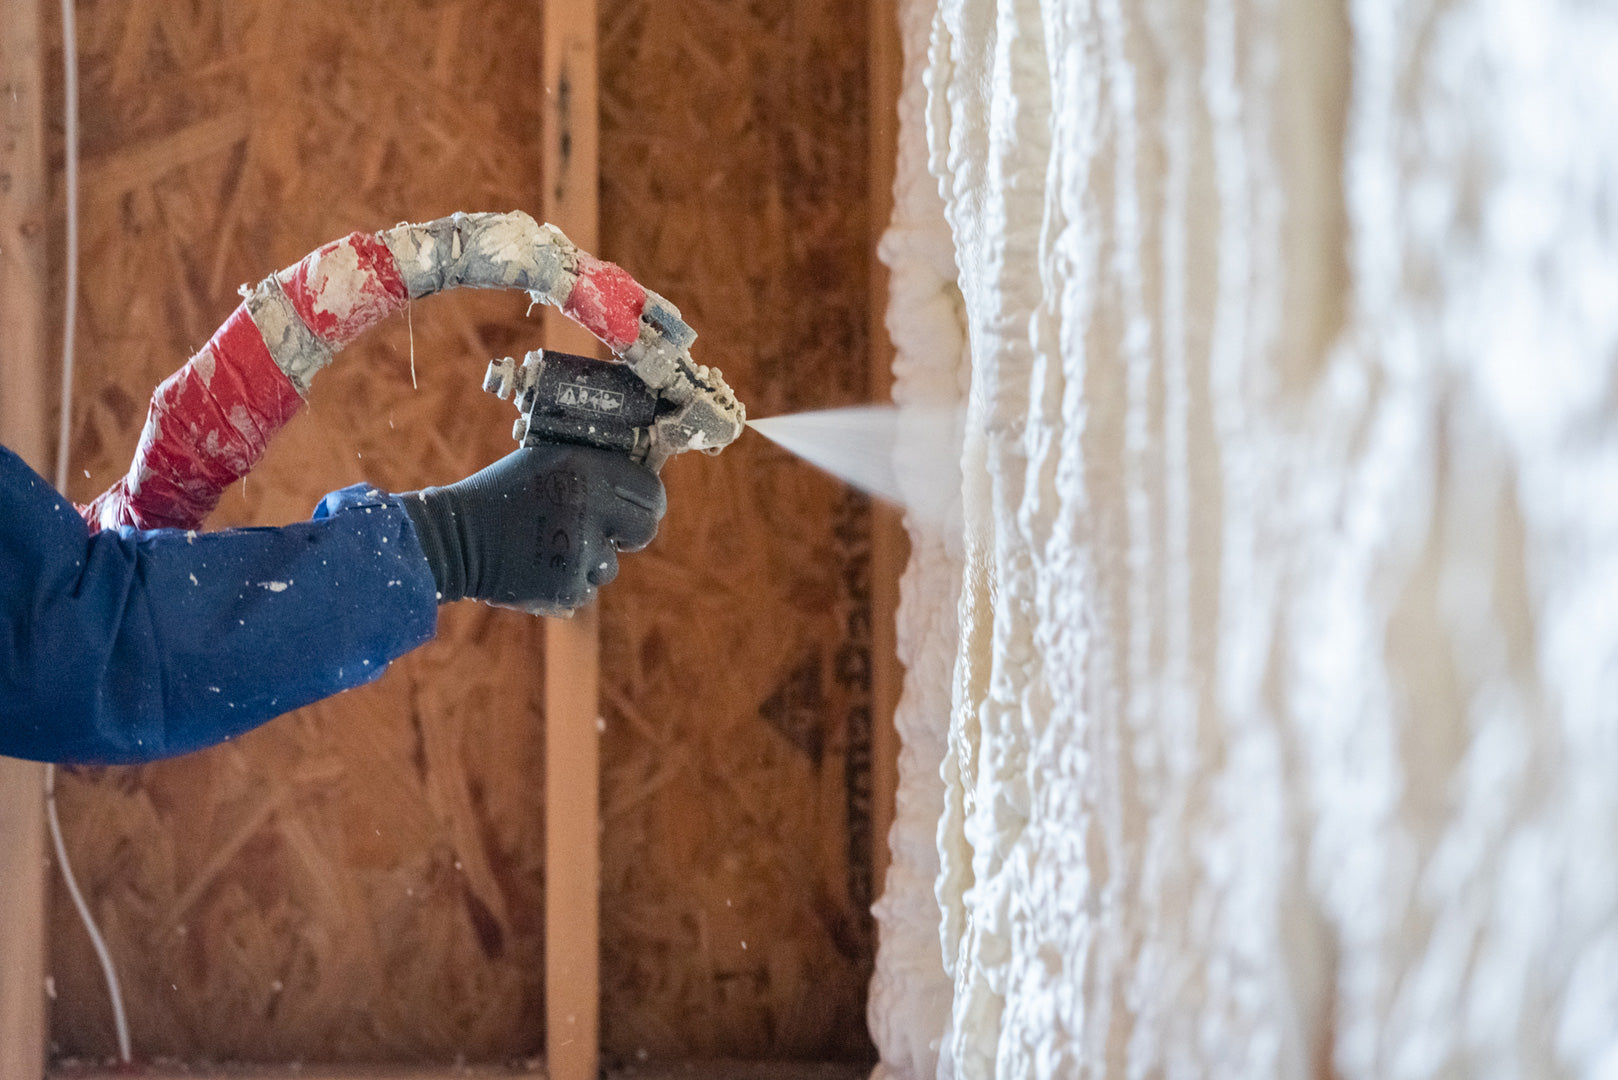
Ask them about the specific type of foam they plan to use for your climate. Open-cell foam is often better for soundproofing and attic ceilings in certain zones, while closed-cell foam adds structural strength and acts as a vapor barrier. A knowledgeable team will explain these differences to you clearly.
How to Prepare the Exterior of Your Property
The crew will likely have a large truck or trailer parked near your home. You should ensure there is a designated parking spot that doesn't block your neighbors. If you have landscaping or bushes near the entry point, you might want to trim them back or cover them to protect them from the hoses.
7. Verify Your Budget and Rebates
A Spray Foam Insulation Installation is an investment that pays for itself over time. Before starting, check for local utility rebates or federal tax credits. Many states offer significant financial incentives for homeowners who improve their energy efficiency.
Market data shows that homeowners can see a 15 percent to 20 percent reduction in heating and cooling costs after upgrading their insulation. Additionally, real estate studies indicate that energy-efficient homes often sell faster and for higher prices than those with standard insulation.
Consult with Local Experts for Your Project and Receive a Free Quote
When you are ready to move forward with your home improvement goals, talking to a specialist is the best next step. Summit Thermal Solutions provides expert guidance on which materials fit your specific building type and local weather patterns. You can reach their team at (573) 889-3512 or via email at summitthermalsolutions@gmail.com to discuss your project. Whether you need help with a crawl space or a new metal building, they offer professional spray foam insulation services tailored to your needs.
Summary of Key Readiness Factors
Preparing for a Spray Foam Insulation Installation requires a mix of cleaning, repairing, and scheduling. You must ensure the work area is dry, accessible, and safe for the application crew. By checking your electrical systems and planning for a 24-hour vacancy, you set the stage for a smooth process. Once the work is done, you will likely enjoy a much quieter and more comfortable home with lower monthly expenses. Always verify that your chosen contractor is experienced with the specific type of foam required for your home's structure.
How Do You Know if Spray Foam Is Right for You?
Which surfaces can spray foam be applied to?
It sticks to most common building materials, including wood framing, OSB, plywood, concrete, and metal. It is not recommended for surfaces that are wet, oily, or covered in loose dust.
Does old insulation always need to be removed?
In most cases, yes. To get the full benefit of an airtight seal, the foam should be applied directly to the building envelope. Leaving old, dirty fiberglass in place can trap moisture and prevent a proper bond.
Can I stay in the house during the installation?
It is generally advised that you leave the premises during the spraying and for at least 24 hours afterward. This ensures you are not exposed to the fumes or dust created during the chemical reaction.
How long does the installation process typically take?
For an average-sized attic or crawl space, a professional crew can usually finish the job in one day. Larger projects or those requiring extensive prep work might take two to three days.
Will spray foam cause my roof to rot?
No, as long as the roof is in good condition and there are no active leaks before the foam is applied. When installed correctly, it actually protects the roof deck by preventing humid air from reaching the wood.