A photograph can capture a face in a fraction of a second. Recreating that same face with nails and a single continuous thread may take hours.
That contrast is what makes string art so compelling. The materials are simple, yet hundreds of straight lines can gradually create shadows, curves, expressions, and depth. From across the room, the finished piece may look like a detailed portrait. Up close, it reveals itself as an organized network of thread.
Creating a successful piece requires more than choosing a photograph and wrapping thread around nails. The quality of the source image, number of pins, line density, frame size, thread tension, and contrast between the background and thread all influence the result.
This guide explains how to move from a digital photograph to a physical artwork without making the process unnecessarily complicated.
Choose a Photograph With Strong Contrast
Not every attractive photograph becomes an effective thread portrait.
String art does not reproduce every color and texture in an image. It creates detail by changing the density of overlapping lines. Areas crossed by more thread appear darker, while areas with fewer lines remain lighter.
For this reason, photographs with clear light and dark areas usually work better than images with soft, evenly distributed lighting.
Good source images often have:
- One clearly visible subject
- A simple or blurred background
- Strong facial or object outlines
- Noticeable highlights and shadows
- Limited visual clutter
- A centered composition
Portraits, pets, silhouettes, vehicles, and recognizable objects are often suitable starting points.
Images with crowded backgrounds, very small faces, low resolution, or weak contrast may produce patterns that look confusing when converted into thread.
Prepare the Image Before Generating a Pattern
A few simple edits can significantly improve the final design.
Begin by cropping the photograph tightly around the main subject. Remove unnecessary background space and position the most important features near the center of the frame.
Next, examine the image in grayscale. This reveals whether the subject remains recognizable without relying on color.
You may also need to increase the contrast slightly. Eyes, hairlines, noses, mouths, and outer contours should remain visible when the image is reduced to a smaller size.
Avoid excessive sharpening. Strong artificial edges can create distracting thread concentrations that do not look natural in the physical artwork.
A useful test is to view the photograph as a small thumbnail. If the main subject is still easy to recognize, the image probably has enough structural clarity.
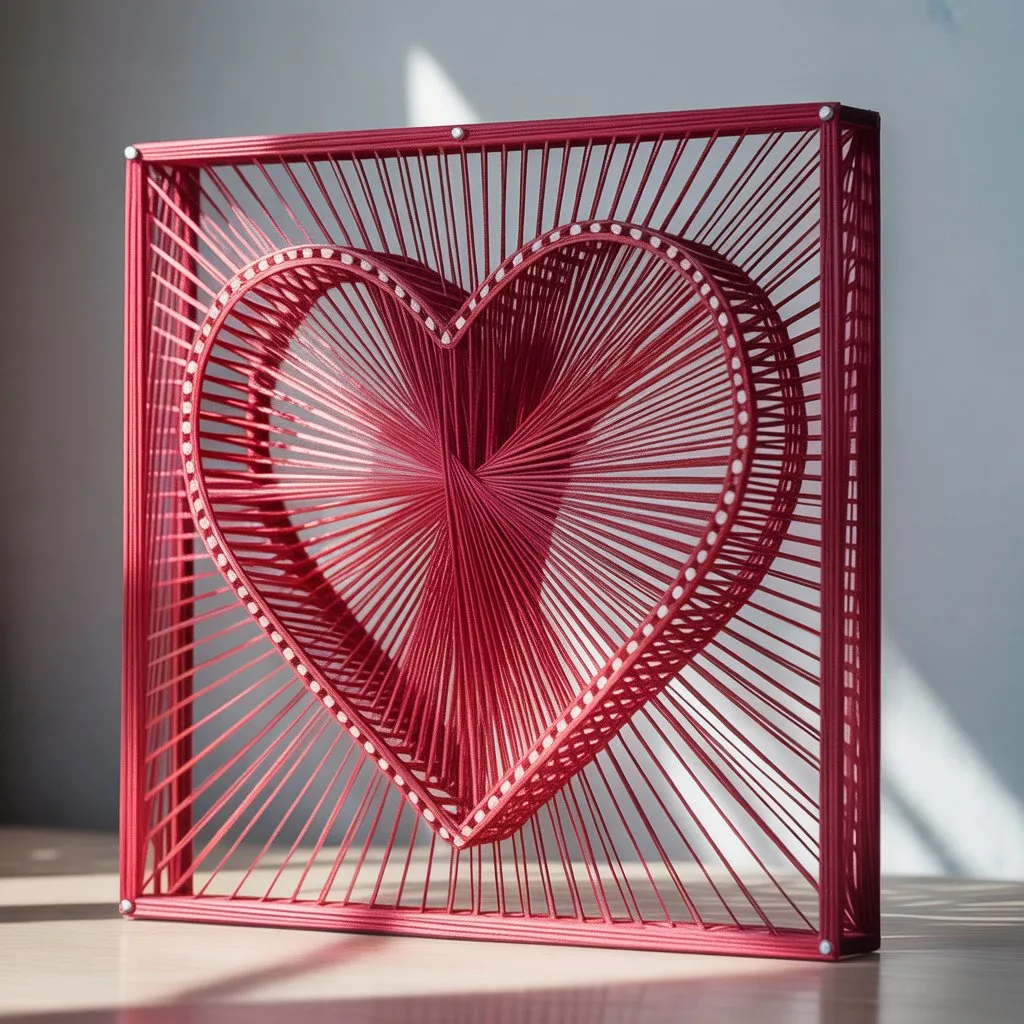
Select the Right Frame Shape
Circular frames are common in string art because every pin is positioned around an equal continuous boundary. This gives the thread many possible paths across the center.
However, circular designs are not the only option. Square and rectangular frames can suit portraits, landscapes, architectural subjects, and wall décor with conventional proportions.
The choice should reflect both the photograph and the intended display space.
A circular frame often feels decorative and modern. A rectangular frame may preserve more of the original composition. A square can work well for social-media-style portraits or centered subjects.
Before choosing, consider where the finished piece will be displayed and whether you are comfortable preparing that particular frame accurately.
Understand Pin Count
Pin count controls how many anchor points are available around the frame.
More pins provide more possible thread connections. This can improve detail, especially around facial features and complex outlines. However, a higher count also increases construction time and makes numbering the pins more important.
A low pin count creates a simpler and more abstract result. It is easier for beginners but may lose subtle details.
For a first physical project, a moderate number of pins is usually the safest choice. It provides enough detail to create a recognizable image without turning the pattern into an overwhelming sequence.
The physical size of the frame also matters. Placing too many nails around a small board can make them difficult to hammer accurately and leave too little space between anchor points.
Adjust Line Density Carefully
Line density determines how many connections are used to build the image.
Increasing the number of lines can create richer shadows and more detail. Yet more is not always better.
Too many lines may make the portrait excessively dark, hide important highlights, or produce a thick mass of thread near the center. Too few lines may leave the image faint and incomplete.
The best density depends on the source photograph, frame size, pin count, background color, and thread thickness.
Use the preview to compare several versions. Pay attention to whether the eyes, outer silhouette, and major shadow areas remain distinct. A balanced pattern should preserve both dark regions and open space.
Use a Digital Preview Before Buying Materials
Planning the route manually can be extremely time-consuming, particularly for a portrait involving hundreds or thousands of connections.
A browser-based string art generator can analyze a photograph, calculate a thread path, and let the user experiment with pin count, line density, colors, and frame shapes before beginning the physical project.
This preview stage is useful because it allows mistakes to be corrected digitally.
You can test whether the portrait needs more contrast, determine whether a circular or square frame works better, and reduce unnecessary complexity before placing a single nail.
The generated sequence also provides structure for the manual process. Instead of guessing where the thread should go next, the maker can follow a numbered route.
Choose Materials That Match the Design
The board should be firm enough to hold nails under tension.
Wood is a common option because it is durable, easy to paint, and available in many sizes. Cork and other softer boards can be used for lightweight projects, although they may not tolerate strong thread tension as well.
Select nails or pins with consistent size and shape. They should be long enough to remain secure while leaving sufficient height above the board for multiple thread layers.
Embroidery thread, sewing thread, and thin craft cord can all work. Thicker material creates more visible individual lines but may become bulky when many paths overlap. Thin thread allows finer detail but can be harder to handle.
For a traditional portrait, black thread on a white or natural wood background often produces strong contrast. White or metallic thread on a dark board can create a more dramatic appearance.
Transfer the Pin Layout Accurately
Even spacing is essential.
Print or draw a frame template and mark every pin position before hammering. A measuring tape, compass, ruler, or printable guide can help maintain consistent distances.
Number the pins clearly. For a complex pattern, skipping one number can affect many later connections.
Hammer each nail to approximately the same depth. Uneven heights can cause thread to slide, stack unpredictably, or create inconsistent tension.
After the nails are installed, remove the paper template carefully while preserving the numbering system in your instructions or notes.
Follow the Sequence in Manageable Sessions
Tie the starting thread securely to the first pin and leave a small tail that can be trimmed later.
Follow the numbered sequence one connection at a time. Wrap the thread around each nail firmly enough to hold its position, but avoid pulling so tightly that nails bend or the board begins to warp.
Mark completed steps on a printed list or digital checklist. This is especially helpful when the project spans several sessions.
Take regular breaks. Repetitive movements can make it easy to lose your place, and tired hands are more likely to change the tension.
Occasionally step back several feet and inspect the image. The portrait may look chaotic from close range even when the larger composition is developing correctly.
Correct Mistakes Without Starting Over
A missed pin does not always require rebuilding the entire piece.
If the mistake was made only a few steps earlier, carefully unwind the thread to the correct point and continue. When the error is minor and visually unnoticeable, it may be possible to keep moving.
The most common problems include:
- Following the wrong pin number
- Inconsistent thread tension
- Loose starting knots
- Bent or uneven nails
- Thread slipping below earlier layers
- Excessive darkness in one area
- Choosing a pattern that is too complex
Keeping the sequence organized is the best form of error prevention. Good preparation saves far more time than hurried construction.
Protect and Display the Finished Piece
When the final connection is complete, tie the thread securely around a nearby nail. A small amount of clear adhesive can help stabilize the knot, although it should be used sparingly.
Inspect the frame for loose nails, hanging thread ends, and uneven sections.
String art collects dust more easily than a flat print because of its layered surface. Displaying it behind a deep frame or shadow box can provide additional protection.
Keep the artwork away from damp areas and direct sunlight, especially if the board is painted or the thread color may fade.
Why the Process Feels So Rewarding
The finished portrait is only part of the appeal.
Each line appears insignificant on its own. Meaning emerges through accumulation. Slowly, the thread begins to describe an eye, a shadow, a face, or a familiar silhouette.
That transformation gives the process a meditative quality. The maker repeats a simple physical action while watching an image develop over time.
The result also carries more emotional weight than an ordinary printed photograph. A personal image has been translated into a different material, reconstructed by hand, and turned into an object that records both the subject and the hours spent creating it.
Final Takeaway
A successful string art portrait begins long before the first nail is placed.
Choose a high-contrast photograph, simplify the composition, preview several settings, and select a pattern that matches your skill level and frame size. Prepare the board accurately, number every pin, maintain consistent tension, and work in short, organized sessions.
Digital tools can calculate the route and reduce the most difficult planning work. The physical artwork still depends on patience, materials, and the maker’s hands.
That combination of algorithmic planning and traditional craft is what makes modern string art distinctive. A photograph begins as pixels, becomes a sequence of numbered lines, and finally returns to the physical world as thread stretched across wood.
Suggested Excerpt
Learn how to choose a suitable photograph, adjust pin count and line density, prepare a frame, follow a numbered thread path, and create a physical string art portrait.
Suggested Category
Lifestyle
Suggested Tags
String Art, DIY Crafts, Wall Art, Creative Technology, Personalized Gifts
Suggested Author Bio
Json Chao writes about creative online tools, digital art workflows, and practical ways to turn computer-generated designs into physical projects.