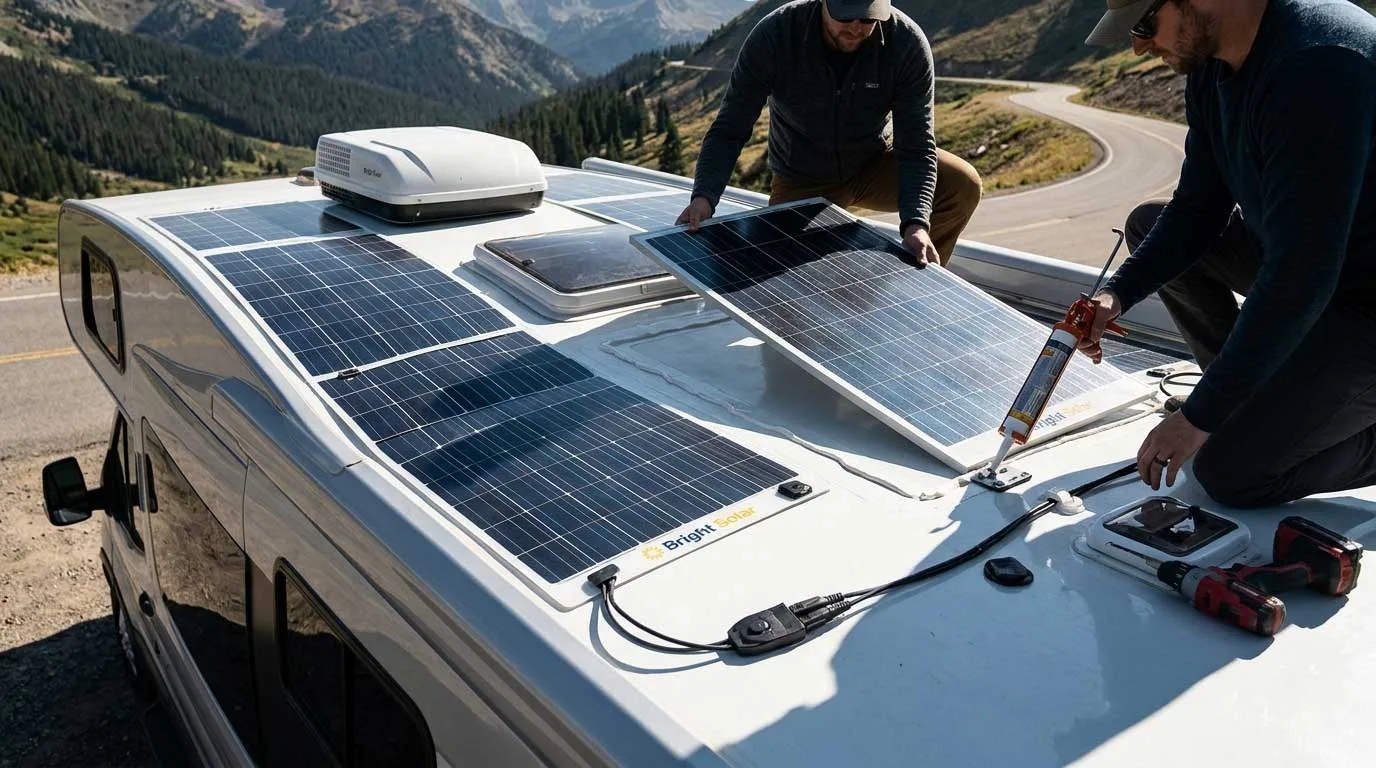
RV solar panel installation is straightforward when you plan the roof layout, panel capacity, wiring, charge controller, and cable entry before sticking or mounting anything. The goal is not simply to put panels on the roof—it is to build a system that produces useful power without creating roof leaks, wiring problems, or unnecessary maintenance.
I've seen plenty of RV solar projects become harder than they needed to be because the owner started with the panel and figured out the rest afterward. It is usually better to work backward from your energy needs.

Start With Your RV's Power Needs
Before buying a panel, make a list of what you actually use.
Think about the refrigerator, lights, water pump, fans, phones, laptops, TV, Wi-Fi equipment, and inverter loads. Estimate how many watt-hours you use each day.
You don't need laboratory-level precision for the first calculation. You need a realistic picture of your daily consumption.
For example, an RV that mainly uses LED lights, phones, and a few small appliances has very different solar requirements from one running a refrigerator, Starlink, laptops, and an inverter every day.
That difference determines whether you need 200W, 400W, 600W, or more solar capacity.
Plan the RV Roof Before Installing Anything
This is the part I would not rush.
Get on the roof and identify everything that takes up usable space:
- Air conditioners
- Roof vents
- Skylights
- Antennas
- Satellite equipment
- Roof racks
- Existing wiring
- Curved or uneven sections
Measure the remaining area and think about where shadows will fall throughout the day.
A panel can have plenty of sunlight at 9 a.m. and then lose a significant portion of its useful area when an air conditioner or antenna creates a shadow.
For RV solar panel mounting, available space is often the real limitation—not the number of panels you can afford.
Flexible or Rigid Solar Panels?
This depends heavily on your RV.
Rigid panels are a familiar choice and can provide strong performance, but they need mounting hardware and create a more raised installation.
Flexible panels are especially interesting when weight, low profile, and roof shape matter. They can be installed on suitable curved surfaces and generally avoid the bulky appearance of traditional framed modules.
For an RV with a relatively open, flat roof, rigid panels may make sense. For a roof where every inch matters, flexible solar panels for RV applications can be a much more convenient option.
Just don't assume a flexible panel can be bent any way you want. Always follow its specified bend radius and installation requirements.
How to Mount Solar Panels on an RV Roof
The mounting method should match the roof material.
RV roofs can use different materials, including rubber-based membranes, TPO, EPDM, fiberglass, and aluminum. An adhesive that works perfectly on one surface may not be appropriate for another.
For adhesive-mounted flexible panels, surface preparation is critical.
Clean the installation area thoroughly, remove dirt and grease, allow the surface to dry, and check adhesive compatibility before applying anything. Do a dry fit first. Once adhesive goes down, correcting a positioning mistake becomes much more difficult.
If you're using mechanical brackets, pay attention to every penetration through the roof. A mounting system is only as reliable as its waterproofing.
RV Solar Wiring: Don't Skip the Electrical Planning
Once the panels are positioned, the next challenge is wiring.
A typical RV solar system follows this basic path:
Solar panels → charge controller → battery → DC loads/inverter
The charge controller regulates the power going into the battery. Do not treat the solar panel as if it were a simple battery charger that can always be connected directly to the battery.
If multiple panels are used, you also need to decide whether to connect them in series, parallel, or a combination of both.
Series wiring increases voltage. Parallel wiring increases current.
Your choice should match the charge controller's voltage and current limits, the battery bank, cable distance, and shading conditions.
Don't Forget the Cable Entry
A perfectly installed panel can still cause trouble if the cable entry is poorly designed.
Choose a suitable cable gland or entry method for the RV roof, keep the cable run as short and protected as practical, and seal the penetration according to the roof manufacturer's requirements.
Avoid leaving cables loose where they can rub against the roof, flap in the wind, collect water, or interfere with maintenance.
This small detail is easy to ignore during installation and annoying to fix later.
Common RV Solar Installation Mistakes
A few mistakes show up repeatedly:
Installing panels before checking shade.
Roof equipment can block more sunlight than expected.
Choosing panels only by wattage.
Voltage, current, dimensions, and controller compatibility matter too.
Using the wrong adhesive.
Strong does not automatically mean compatible.
Ignoring the roof material.
Different RV roofing systems require different installation approaches.
Making the cable run unnecessarily long.
Longer runs can increase voltage loss and complicate routing.
Skipping inspection after installation.
Check the cables, seals, connectors, and panel surface periodically.
Final Thoughts
Good RV solar panel installation starts before the first panel reaches the roof. Calculate your energy needs, map the usable roof area, account for shading, choose the right panel type, and make sure the electrical components work together.
At Bright Solar, we believe an RV solar system should fit the way you actually travel. Whether you're building a compact weekend setup or a larger off-grid system, choosing the right panel size and installation method can make the difference between a solar system that merely looks good on the roof and one that genuinely helps you stay powered on the road.