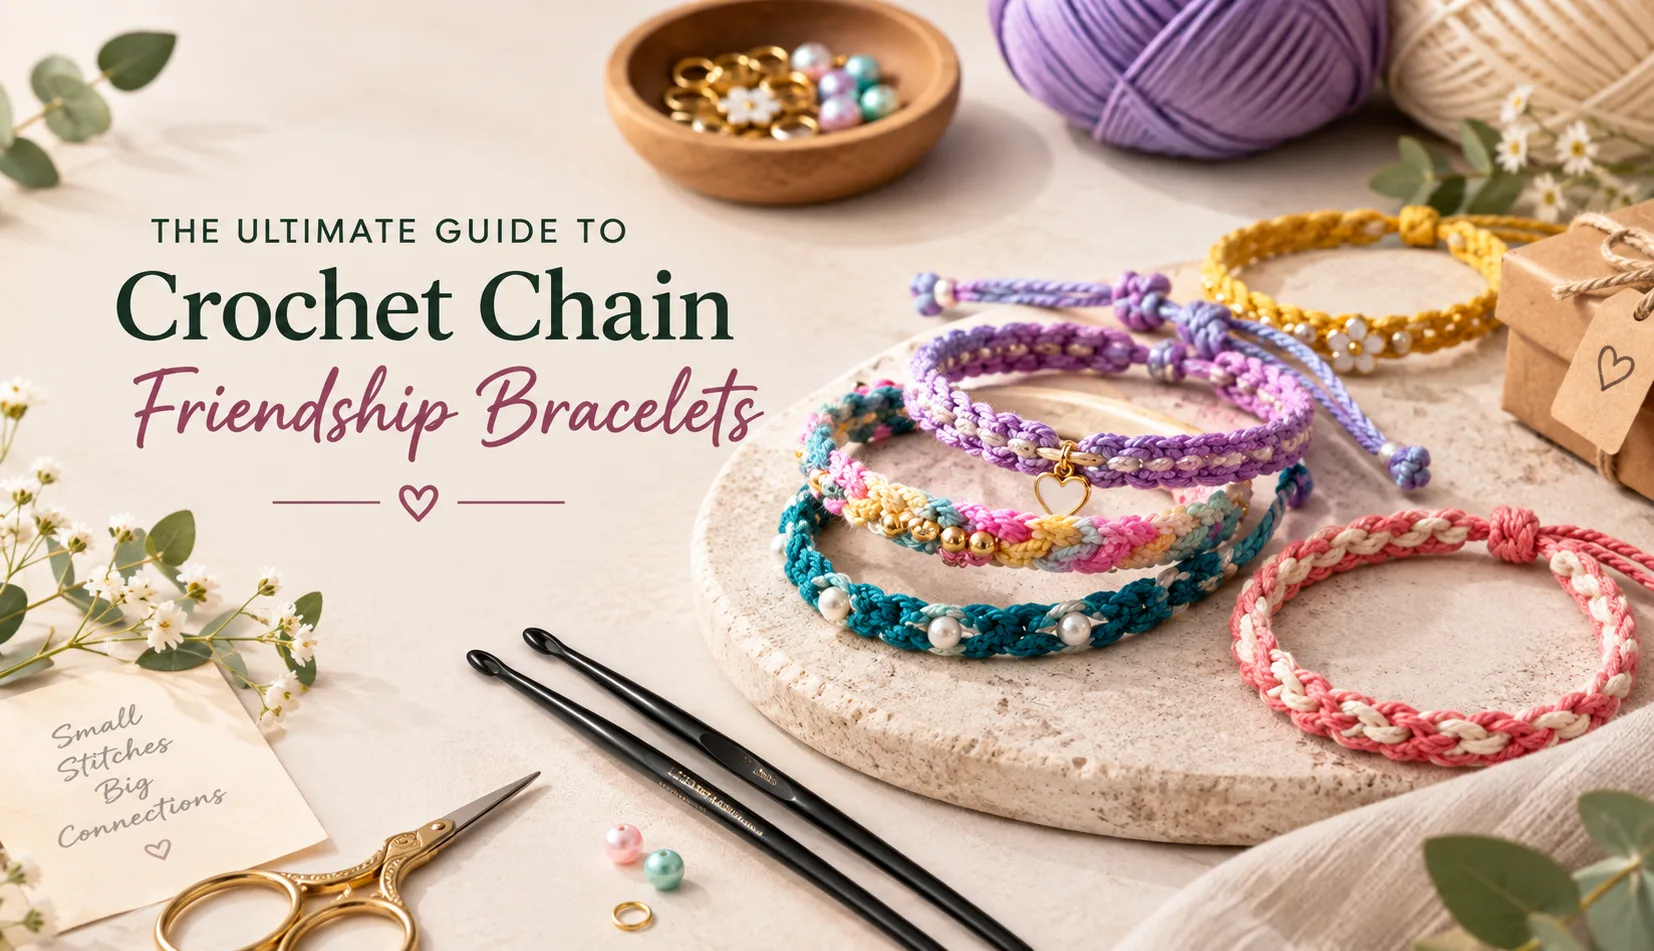
A friendship bracelet says someone sat down and made something just for you — and a crochet chain lets you say that in under 30 minutes. Crocheting a bracelet is one of the easiest and most fun projects for many.
Whether you want to gift it to a friend or add it to your collection, this simple project is easy to fall in love with.
Why Crochet Chain Makes the Best Friendship Bracelet
Traditional friendship bracelets involve knotting embroidery floss, which takes a lot of time and causes pain in your hands. But the foundation crochet chain skips all those difficult steps.
By combining the basic chain stitch with the right yarn weight, you get a bracelet that's lightweight and durable with crisp, even stitches that hold their shape instead of stretching out of place.
Kids especially love them — the hook is easy to grip, each bracelet finishes fast enough to hold their attention, and the small scale makes bold color combos pop. You can make a stack of them in an afternoon, and they're easy to slip into a card or gift bag.
What Materials are Required?
You don't need expensive tools — just a small crochet hook (2.5 mm - 3.5 mm works well) and fine or sport-weight yarn, which keeps the bracelet delicate enough to wear without bulk.
- Crochet hook: Steel glides smoothly through fine thread; wood or bamboo gives a bit more grip if you're new to smaller hooks.
- Tapestry Needle & Scissors: Essential for trimming or weaving yarn ends.
- Optional: Beads, small charms, or jump rings.
Step-by-Step: Crafting Your First Bracelet
Follow this simple method to make your friendship bracelet.
Step 1: Make a Slip Knot
Leave a 5-to-6-inch tail at the beginning; you will need it at the end to construct your tie closure. Make a standard slip knot to make a foundation chain.
Step 2: Work the Foundation Chain
After making a slip knot, yarn over and pull through the loop to make your first chain stitch. Continue making the chains until you reach the desired length. Keep your tension consistent throughout, neither too tight nor too loose.
Step 3: Add Thickness with a Slip Stitch Rib
When you create a single row of chain with fine thread, it looks very thin. To give your bracelet body, turn your work over and slip stitch into the back bumps all the way back down the length. This simple thin thread turns into a flat, sturdy, ribbon-like cord that resists stretching over time.
Step 4: Finish the Ends
Cut your working thread once you reach the starting knot, leaving another 5-to-6-inch tail. Pull the cut thread straight through the final working loop to lock the stitch in place.
Variations to Try
Once you've got the basic chain down, try one of these:
- Double or Triple Chain: Crochet two or three chains side by side and join them at the ends for a thicker band.
- Beaded Chain: Pre-string beads and crochet them into the chain for sparkle.
- Ombre or Striped Effect: Switch colors every few inches or use a self-striping yarn.
- Layered Stacks: Make several thin bracelets in different lengths or colors and wear them together.
Adjustable Style: Create a longer chain and add sliding knots so one size fits most wrists.
Tips for Making Successful Crochet Bracelets
- Tension is everything, so if your crochet chains are uneven, slow down and focus on pulling the yarn in the same way each time.
- Make extras, Once you’re in the flow, it’s easy to knock out a whole set for a group of friends or a party favor.
- Teach others too — this is an easy first project to share with friends or kids.
- Care is Simple, Hand wash gently and lay flat to dry if needed. Most cotton versions hold up beautifully with everyday wear.
Final Thought
Handmade creations are always special, and that's what makes a friendship bracelet worth giving. All you need is a crochet hook, some yarn, and a few quiet minutes.
Keep in mind that you don't need to be perfect at making them. The little handmade details are what make it yours. Whether you keep it minimalist with a single slip-stitched cord or elevate your design with beads, button closures, and braided colorways, these bracelets are proof that simple stitches can still feel special.